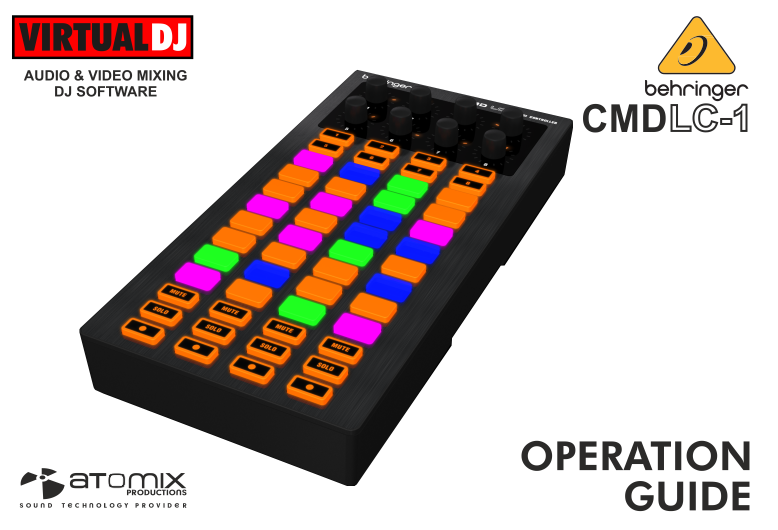
BEHRINGER CMD LC-1

SETUP
Firmware: No firmware update is currently available. However it is always advised to check Behringer http://www.behringer.com/Categories/Behringer/Computer-Audio/DJ-Controllers/CMD-LC-1/p/P0AJH/downloads
Drivers: No drivers are requires (class compliant device).
VirtualDJ 8 Setup
Once VirtualDJ 8 is launched, a Login Window will appear. Login with your virtualdj.com account.
A Pro Infinity or a PLUS License is required to fully use the Behringer CMD LC-1. Without any of the above Licenses, the controller will operate for 10 minutes each time you restart VirtualDJ.
http://www.virtualdj.com/buy/index.html

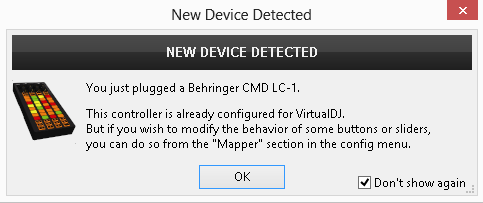
Click to OK.

The unit is now ready to operate with VirtualDJ.
Advanced Setup
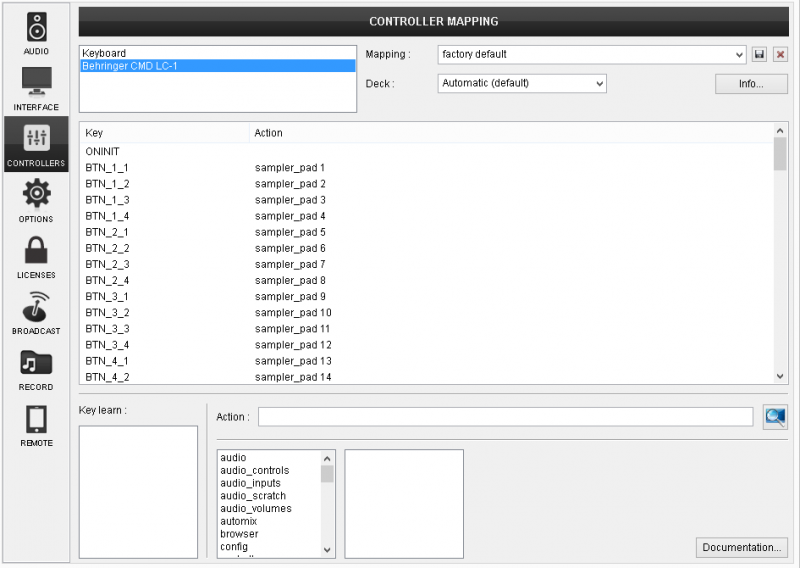
The unit should be visible in the CONTROLLERS tab of Config and the “factory default” available/selected from the Mappings drop-down list. The factory default Mapping offers the functions described in this Manual, however those can be adjusted to your needs via VDJ Script actions.
Find more details at
http://www.virtualdj.com/wiki/VDJ8script.html

AUDIO Setup
The unit does not have a built-in audio interface, therefore no Audio setup is required.
For further software settings please refer to the User Guide of VirtualDJ 8.
http://www.virtualdj.com/manuals/virtualdj8/index.html
CONTROLS
The unit is by default pre-assigned to control the Sampler of VirtualDJ 8.

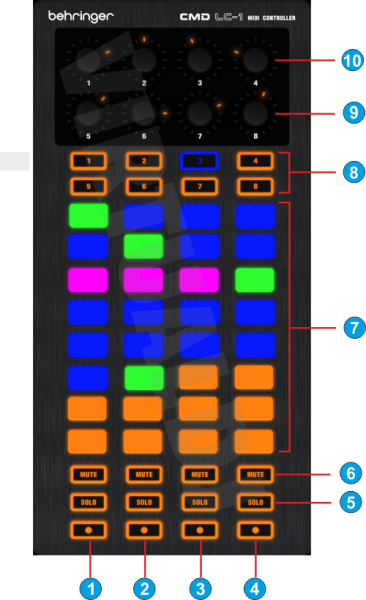
- SHIFT. Press and hold this button and press one of the Sampler Pads (7) to stop the sample.
- REC MASTER. Press this button to record the Master Output to a new sample*. The led will blink whilst recording. Press the button again to stop the recording process.
- REC MIC. Press this button to record the Microphone Input (if available in the audio Setup) to a new sample*. The led will blink whilst recording. Press the button again to stop the recording process
- REC. Press this button to record the selected deck to a new sample*. The led will blink whilst recording. Press the button again to stop the recording process. If a loop is active on the selected deck, the recording will be instant and a looped Sample will be recorded.
* The recorded samples are stored in /VirtualDJ/Sampler/Recordings folder - SOLO. Not used.
- NAVIGATION. Press the 1st button from left to select the next available bank of Sampler. Press the 2nd button from left to select a different trigger mode (On-off, Hold, Stutter, Unmute). Press the 3rd button from left to open/close the Sampler window in the Sideview.. Press the last button to toggle between the Trigger Pad and List View of Sampler
- PADS. The 32 pads trigger from 1 to 32nd samples of the selected bank, depending on the trigger pad mod. Press SHIFT (1) and then one of the pads to stop the playing sample. If a sample slot is assigned (loaded), the led of the button will turn on blue. If the sample is playing the led will turn on green. If no sample is assigned to a slot, the led will remain orange).
- ROW SEL. Press one of the 8 available row select buttons. Each time a row is selected, the leds of the corresponding samples will turn on purple (if a sample is loaded to those slots), indicating the selected samples. Press the same button again to deselect the row.
- LOOP ENC. Turn the encoder anti-clockwise to half the length of the looped sample. Turn the encoder clockwise to double the length of the looped sample. The function will only apply to samples that are in Loop mode, and will only adjust the length if the sample is playing. The 4 encoders will control the loop of the 4 samples of the selected row (8)
- VOLUME. The 4 encoders will control the volume of the 4 samples of the selected row (8). If no row is selected the encoders will control the Volume of Sample Groups 1 to 4. If a Group is not available (no samples are assigned to a group), the encoders will control the Master Output Volume of the Sampler.
Colored Leds
Each one of the 32 Leds of the pads (7) can have 4 different colors. Use the VDJ script action constant x (where x can have the following values) to illuminate the Leds differently.
constant 0 orange (off state)
constant 0.1 green
constant 0.3 blinking green
constant 0.5 purple
constant 0 6 blinking purple
constant 0.9 blue
constant 0.99 blinking blue
A different speed of blink illumination can be achieved with the following action.
blink 300ms ? constant x : constant y
Where x and y can be any values from the above and a different ms value can be also used to increase/decrease the speed of the blink illumination
