


Manuel utilisateur
Éditeur Automix
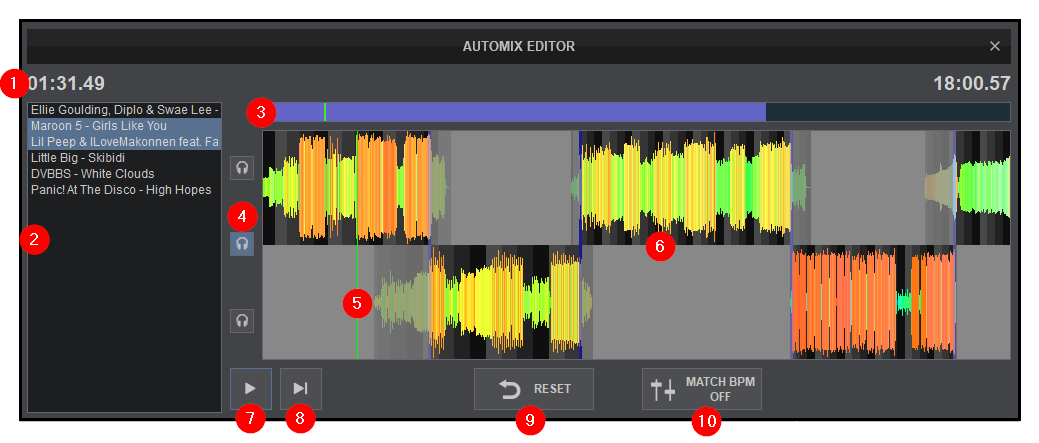
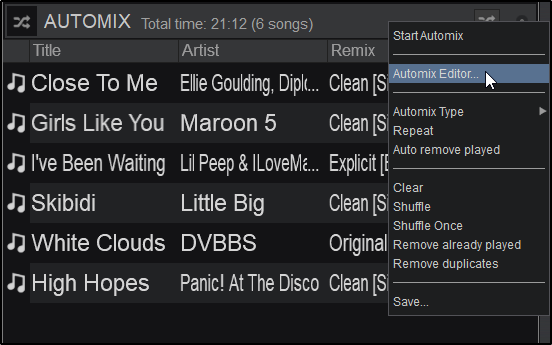
The Automix Editor provides the ability to edit the automated process of the Automix feature, and bypass the selected Automix Type. Files are grouped in pairs to create custom In and Out points for each series of mixes. The Automix Editor is available in the Automix view of the SideView (Playlist Options menu).
The Automix Editor will only be audible through the PFL if a headphone channel has been created in the Audio Setup (if no headphone channel is available, a pop up window will display asking if the feature can be used through the master output).
- PROGRESS DISPLAY. The left value indicates the current position of the Playhead, while the right value indicates the total time of the Automix and will be updated along with all edits performed.
- PLAYLIST. Displays the current playlist (as loaded into the Automix view of the SideView). Files are grouped in pairs to easily edit the “mix out” point of the current track with the “mix in” point of the upcoming track. Clicking on any pair will zoom into the mix point of those tracks for precision editing.
- SCROLL BAR. Displays the zoom level of the waveform and can be dragged to any part of the Timeline to perform precise adjustments.
- PFL. 3 separate PFL buttons are available. The top PFL button previews only the tracks in the top portion of the timeline, the middle PFL button previews all tracks in the timeline, and the lower PFL button previews only the tracks in the lower portion of the timeline.
- PLAYHEAD. Shows the current position of the Automix. All play functions use the playhead to determine the start position. It can be clicked and dragged to any part of the Timeline with a mouse.
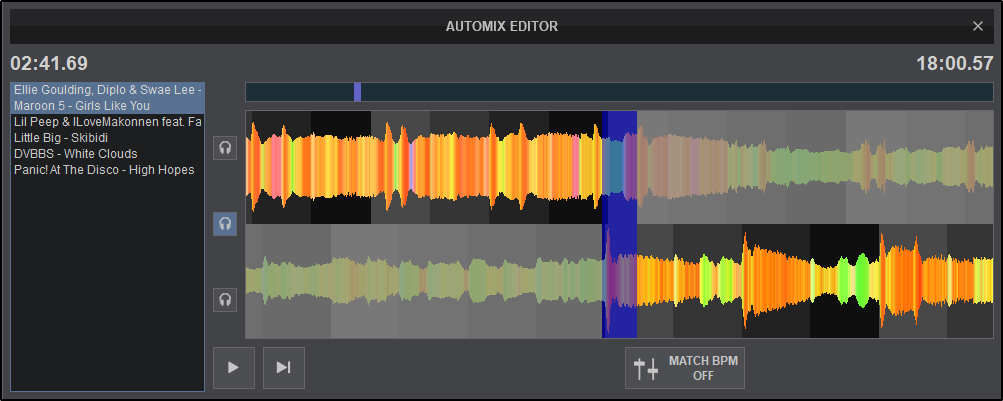
- TIMELINE. Provides a visual display of the audio information from the playlist. It displays the waveforms of each track, the beatgrid using the grayscaled background, and each automix point (marked in blue). The Timeline can be zoomed in or out to make precise Automix adjustments with a wheel mouse.
- PLAY/STOP. Will play the automix if it is stopped and will stop the automix if it’s playing.
- PLAY-HOLD. Plays the Automix as long as the button is held. Once released, the playhead will jump back to it’s previously stopped position.
- RESET. Used to undo the last edit performed (will not be displayed if no edits have been performed).
- MATCH BPM - Turn on/off BPM matching (when turned on, the BPM of the songs will be matched to provide a smooth synced transition.)
How to
- Open the Automix Editor by clicking on the Options button in the Automix section of the SideView.
- Click on the first pair of tracks that require adjustment. The Timeline will automatically zoom in to the default mix point that is currently set in Automix Options (Fade and Length) and will be indicated in blue.
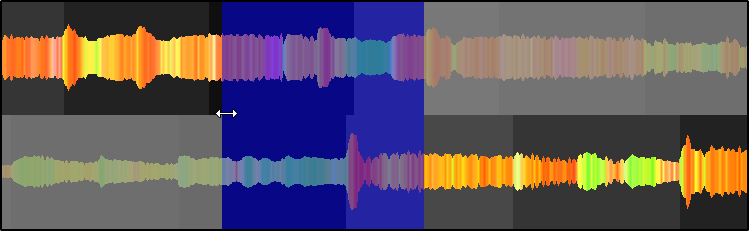
- Use a wheel mouse to zoom in and out and the scroll bar to move back and forth to the areas that require a precise edit. Grab the tracks with the mouse and move them back and forth in the Timeline to adjust their position. Once the track position is determined, drag the blue mix point indicator with the mouse to enlarge or shrink the area which will increase or decrease the length of the mix point. Any part of the previous song or next song positioned outside of the Automix point (blue), will not be heard in the mix.
- Continue to adjust each automix point as required, using the mouse to zoom in and out to make fine adjustments while pre listening to the mix points. Highlight any mix point to toggle on/off Match BPM or Reset it to the original automix point.
Close the Automix Editor to automatically save the Automix Points. Once closed, the changes made for any pair of tracks, will apply each time those 2 tracks are played with Automix in the same order in future playlists (saved to database).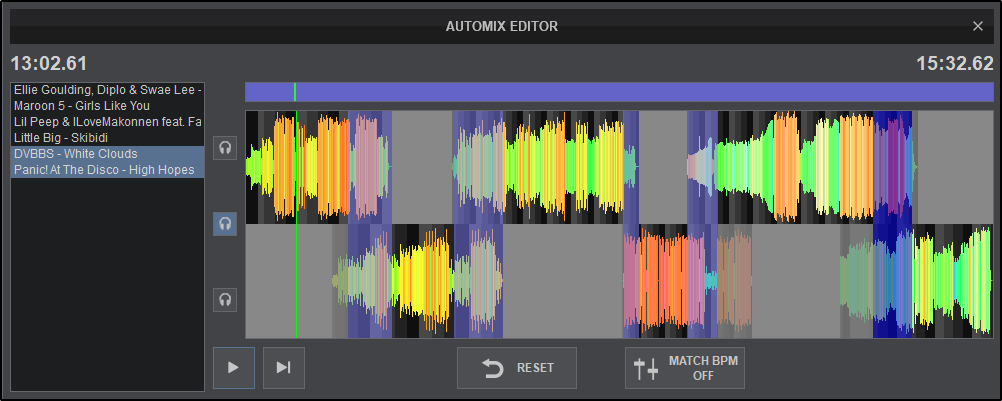
Note: The Automix Editor will be disabled if Back to Back (none) is selected as the Automix Type.